Showing posts with label DIY. Show all posts

Friday, February 14, 2014

Valentines Show & Tell


….I hope your day is filled with love….

Valentine's Day for Mr. AOK & I will consist of being serenaded by a class full of Kindergartners and guess what-- we cannot wait!
We're actually going to get a little alone time, which doesn't happen often.  Valentine's day is usually about the kiddos here.

Speaking of the kiddos, I thought I'd share our I mean their Valentines.

My little man is handing out Play-doh to his classmates.
We purchased the Play-doh party pack, mini white paper bags, and foam stickers. 
My little guy decorated the bags and had fun picking who got what color...


My baby girl is a Frozen Fan.  She absolutely loves Olaf! Naturally, she chose to go with Olaf for her Valentines…
The two of us gals got to work on PicMokey and made these "Olaf inspired" tags...
{Here's the link… if you'd like to print some off for yourself}

We glued the tags onto more of those mini white paper bags I used for little man's valentines.

We also glued on some shaved ice to give the bags a nice frozen feel :)

Next we filled the bags with Hershey's Hugs and Stickers.

We also made a little something for the teachers…


Monday, December 23, 2013

Super Duper Easy Last Minute #DIY Gifts


Did you find out a few other family members are showing up for the holidays?
Don't have a gift for them?
I think I have you covered.
My kiddos had such a fun time making ornaments for their grandparents.  So, what I'm trying to tell you is… get the kiddos in on the DIY!
For the ornaments you will need:
The unwrapping of the crayons is a wonderful task for little hands ;)
Break the crayons in little pieces.  My bulbs were 40mm therefore my pieces had to be quite small.  If you're using regular sized bulbs I'd suggest bigger pieces perhaps 1/4 of a crayon.
 Put your gloves on and heat the crayons with your blow dryer swirling the bulb on its side.
Let the ornament dry.. add a ribbon for a more fancy look :)
How often do the white crayons get used? We had quite a few white crayons, so we melted the white crayons down (the same way as we did above) and made snowmen ornaments. The kiddos used Sharpies and Painters markers to decorate.

Since we were sending some of these ornaments to family, we filled the ornaments with sea shells from the beach… now they have a little bit of our new home :)
Personalized Coffee Mug
I was part of a handmade gift exchange last month… because of my move it was terrible timing.  I literally made my the semi-handmade gift the day I left IL.

I needed to make something fast and easy because everything was being boxed up.
I bought a pretty aqua mug from World Market, a cloth napkin to match and some goodies to fill the mug up with.

I had seen so many Sharpie mugs on Pinterest and thought that looked perfect… 
There were mixed reviews on the Sharpie mug, some people said it wiped right off.
I read that Painters Markers worked better 
I hope they were right…
I used the Painters paint markers and got designing.
*First clean your mug off with rubbing alcohol.
I let the mug air dry for about an hour but I think a day would be best… again I left that day.
Once I let the mug settle long enough I heated the mug up in the oven 
DO NOT PREHEAT
The mug most heat up with the oven.
375* for 30 minutes
DO NOT TAKE THE MUG OUT RIGHT AWAY!
Let the mug cool down with the oven.

Happy Handmade Holidays!


Wednesday, October 30, 2013

Bones & Dirt Pretzel Rods {Last Minute Halloween Treat}


I made these super easy festive Halloween Pretzel Rods to stick in the kiddos' lunches as a 
treat.... or a trick :) if you're not into bones and dirt!
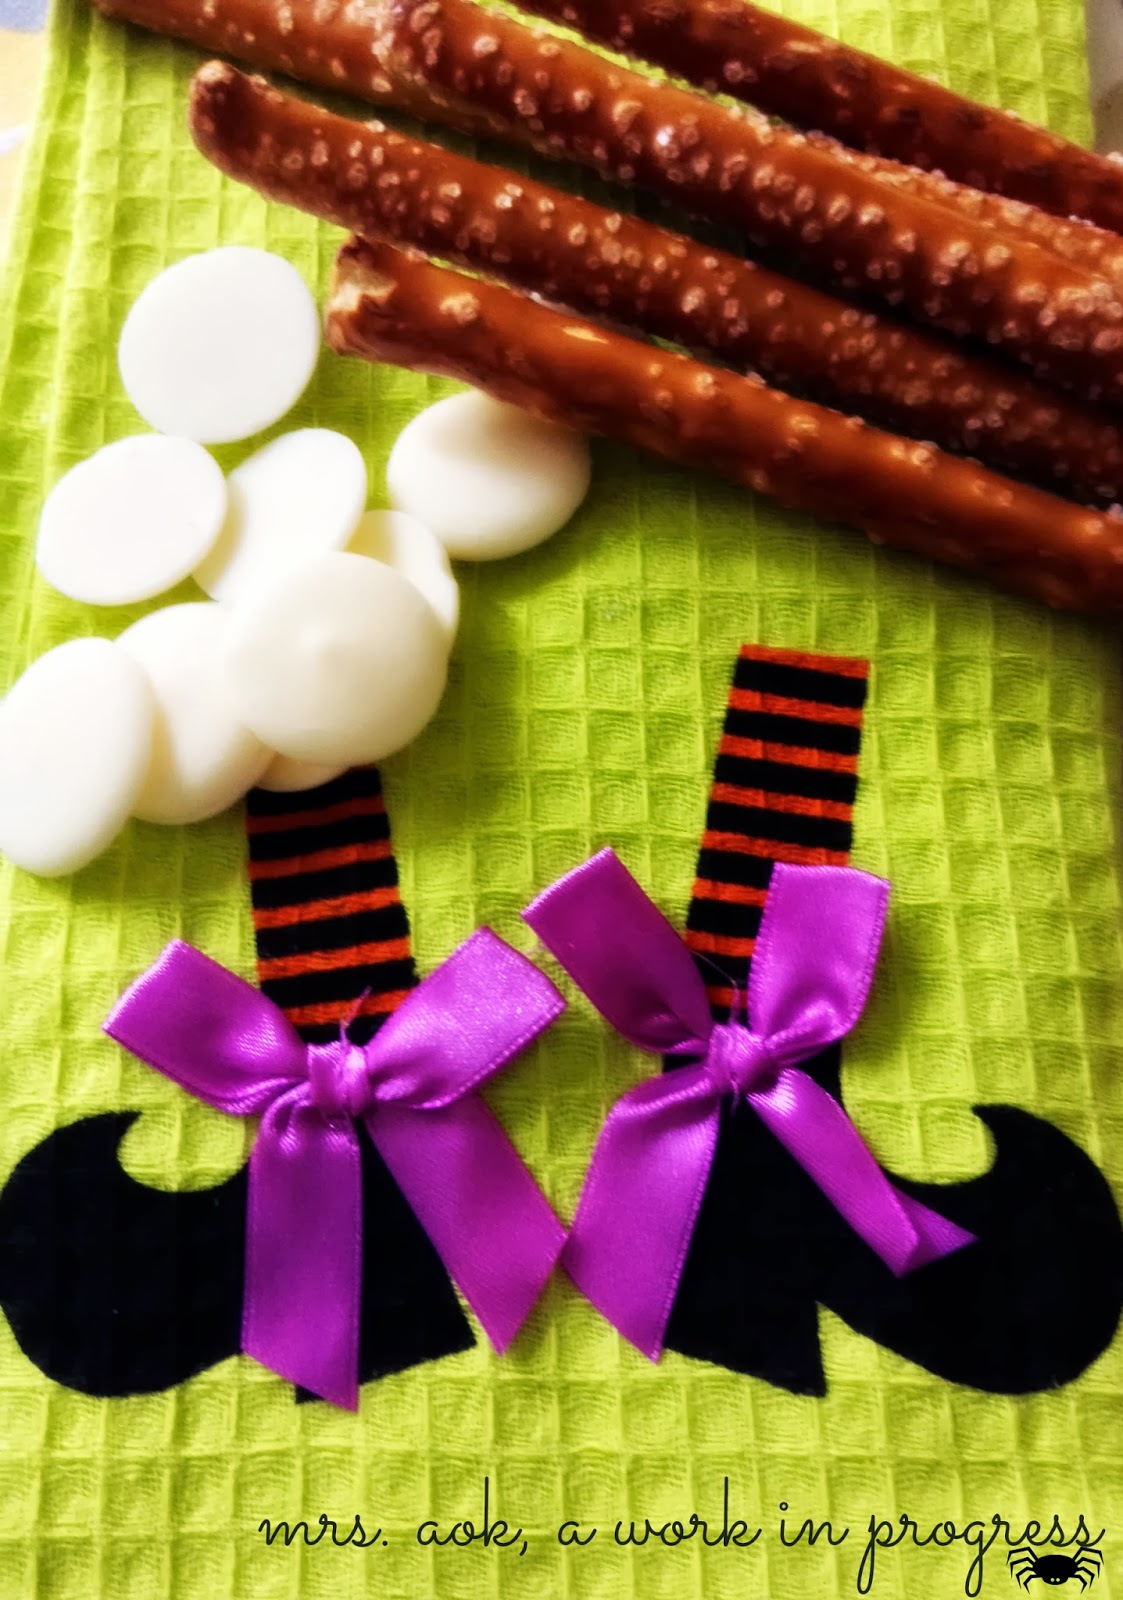
While I was at Jo Ann Fabrics & Crafts this weekend, I found this cheap Wilton pretzel rod mold for a $1.99!!
The mold allows you to look all fancy and crafty!
All you need is pretzel rods and white chocolate or Wilton melts.
Melt the chocolate and pour a little into each mold add the pretzel rod and pour or pipe a litte more melted chocolate on top, now let the rods cool.  
I stuck my pretzels in the freezer to hurry the process along..

I didn't stop there because I needed to make some dirt {cookies and cream}.
I took a bag of chocolate creamed-filled cookies and crushed them.  Next, I rolled the white chocolate covered pretzel rods into the crushed cookies.
And boom!
That's it!
Kids are happy and I'm happy-- life is good.
Speaking of good don't forget to enter the 


Monday, June 17, 2013

Papa-Corn {Popcorn/Bacon Lovers}

My hubs likes LOVES bacon!! Poor guy married me, I love bacon but I'm always watching our pork intake.  This Father's Day I decided to let the man eat bacon... LOTS of it!  Trust, we're good for awhile I'm sure! 

My family & I are big foodies, we watch our fair share of foodie-type shows, we always see candied bacon.  We had never had candied bacon nor attempted to try to make it. 
Till this weekend, when I decided to make my husband fall even more deeply in love with me!!

Months ago I picked up a sign I saw at Home Goods that read:
I had to get it for my husband, and thought it would be perfect for Father's Day.  Yes, I was somehow able to keep the sign hidden with all the minions knowing about it... crazy!
Since, I didn't want the sign to seem random-- I decided to just bacon-up my husband's Father's Day.
I made him what he called the best Popcorn EVER! 
He also said this is how we should always eat popcorn, which sounds lovely but I don't know if I could give up pickles and popcorn. 

Here's what you will need:
1LB Bacon
About a cup or so of Brown Sugar
Mini Chocolate Chips {I used Enjoy Life, dairy, nut, and soy-free chocolate chips}
Kosher Salt {as much or as little as you like}
1 Cup of Popcorn Kernels
Oil for popping about 3-4 TBS {I use sunflower oil}
Large Pot with lid to pop your corn
Oven-safe wire rack
Cookie sheet
Foil
Casserole dish to sugar-up the bacon
Large Bowl or casserole dish to mix everything in.


Candied Bacon
In a large casserole dish add your brown sugar (you can use as much or as little as you like)
One by one coat your bacon making sure to pat brown sugar down on each slice.
Once your bacon is all sugared-up place on oven-safe wire rack. 
The wire rack should be placed inside a cookie sheet (I lined my cookie sheet with foil)
Cook bacon for about 25-30 minutes at 375*

This is how the bacon should look before you stick it in the oven.

And here is the After
I know I could have stopped there but I aim to please.
My husband LOVES his bacon but he also LOVES popcorn.
I decided along with my kiddos to make a bacon Papa-Corn.

I popped 1cup of popcorn in sunflower oil, with a sprinkle or two of salt, in a large pot.
Once the popcorn was popped I placed it in a casserole dish (this is just so I could evenly spread the mixture).
I chopped up the bacon and mixed it in with the popcorn and added the mini chocolate chips.
Finally I sprinkled the mixture with a little kosher salt, which helps with that sweet savory combo that is so yummy!

And that's it. Bag it up and enjoy!


Saturday Dishes at Coffee With Us 3


Tuesday, June 11, 2013

Old Puzzle. New Life.


If you follow me on Twitter, you may have seen my tweets about our playroom quest.  
My husband, kiddos, and I put together a new playroom,
it is almost all done.  
We still have to work on the kiddos' cloffice, but that will be a project for another weekend when we get a weekend... again(?).  

While we were decluttering, we put aside books and toys the babies have outgrown {sighs} to donate; I saved three old wooden puzzles.  Two of the wood puzzles were missing pieces, I didn't want to throw them away; they had potential.  I thought, "CHORE CHARTS!" "These would make perfect chore charts." 
Okay... I haven't actually used the repurposed puzzles as chore charts just yet... but I will.
Here is what I did. I flipped those babies around and sprayed them with the chalkboard paint I had hanging out in my garage.  
I took some old fabric stripes and braided them {to make a hook}, and hot glued them on (once the spray paint was dry of course).
And done.
As I said earlier, the purpose of these repurposed puzzles was to make chore charts-- but we haven't quite done that... 
They made an appearance here...
And here...
As well as a ton of other last day of school pictures. 
My eldest daughter is crazy about Harry Potter, so she took some a ton of mugshots with her chalkboard. That girl is hilarious! 
What do you think?